
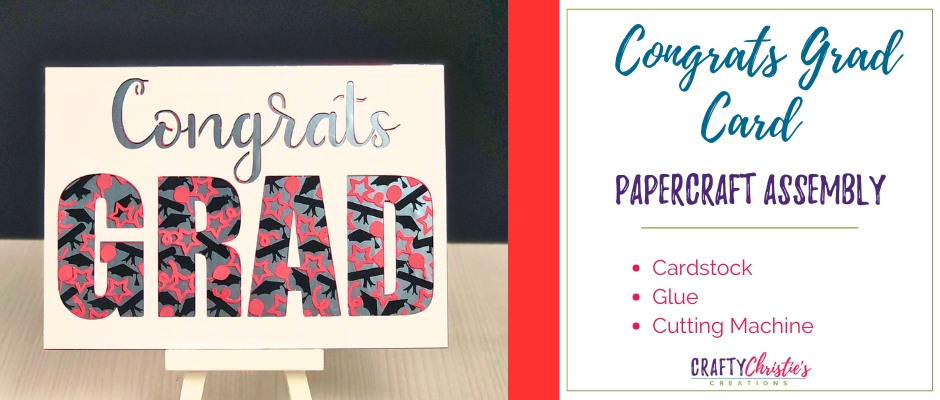
Graduation season is a time of celebration and recognition. What better way to commemorate this special achievement than with a handmade card? My layered congrats graduation card svg file is the perfect project to add creative flair to your congratulations. In this blog post, I guide you through assembling this beautiful card, ensuring your graduate receives a heartfelt and memorable keepsake. Let’s get started and create something truly special for your graduate!
Supplies:
SVG Cut File
Black Cardstock
Red Cardstock
Silver Foil Cardstock
White Cardstock
White Coverstock
Liquid Glue
Cutting Machine
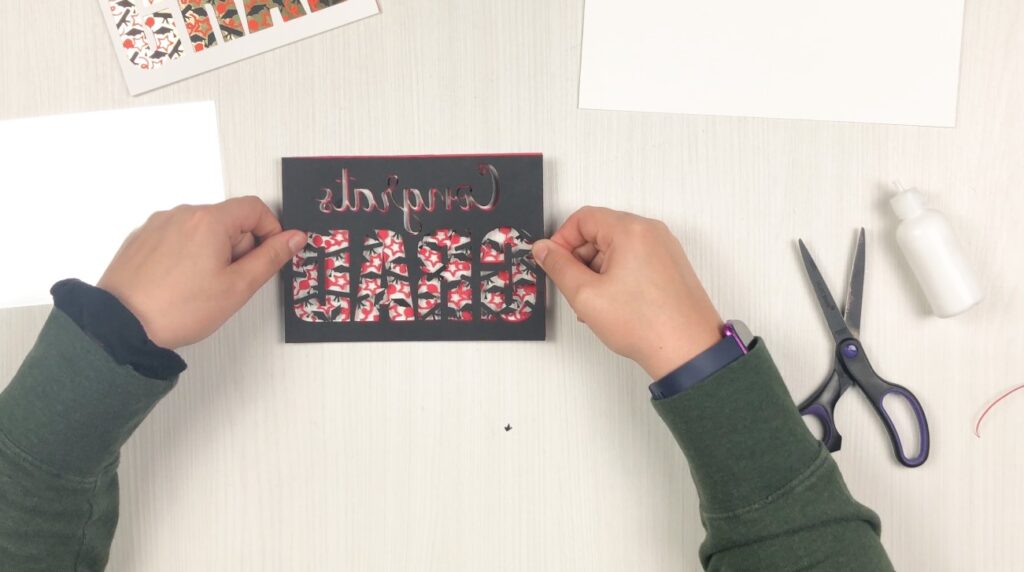
Step 1: Cutting the Congrats Graduation Card
Open Silhouette Studio, navigate to where you saved the file, and open all 3 files. Each aspect of this card is designed to be cut on letter size cardstock which is why there are multiple files. The card can easily be customized using the recipient’s school colors for the card layers. These are intricate designs so consider turning down the cutting speed and using the overcut. Save the inner parts of the word “GRAD” from the top layer.
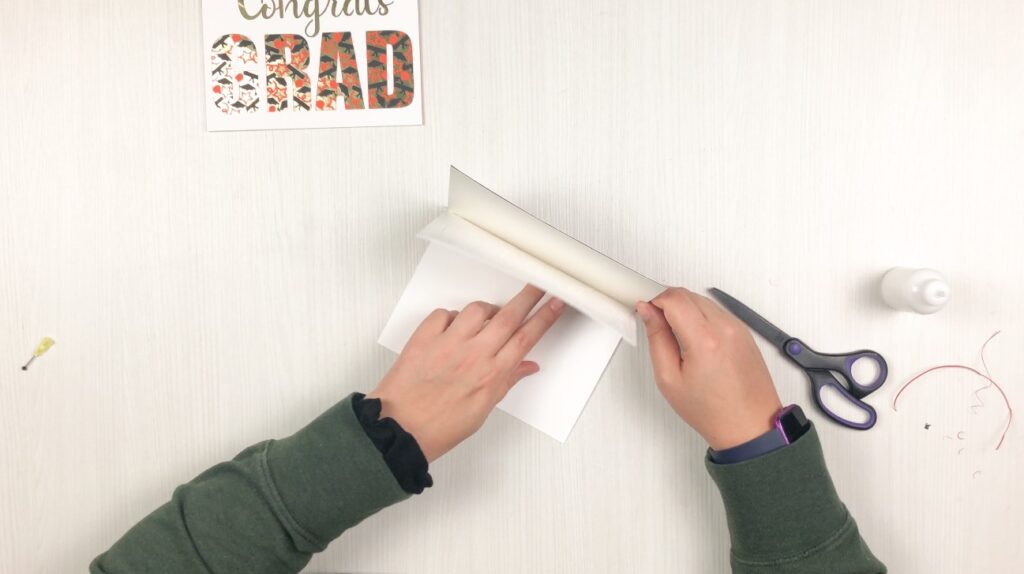
Step 2: Build the Layers
Now that all the parts of the congrats graduation card are cut, it is time to assemble the layers. Start with the top 2 layers. Adhere the inner parts of the top layer to its corresponding piece on layer 2. Then apply a thin layer of glue to the back of layer 1 and stick it on top of layer 2.

Repeat this process for layers 3 and 4. If you use foil cardstock like me, give it extra time to dry. If the cardstock is warping from all the glue, place it under something heavy and allow it to dry.
Step 3: Make it a Graduation Card
Next, adhere all the layers to the front of the top folding card base. Because these layers get heavy, I like to use 110lb coverstock as my card base. This is optional, your standard 65lb cardstock will hold up fine as well.
Step 4: Show off the Congrats Graduation Card
Your card is complete. Write a message on the inside, maybe with a few crips 20 dollar bills, and it’s ready for gifting!
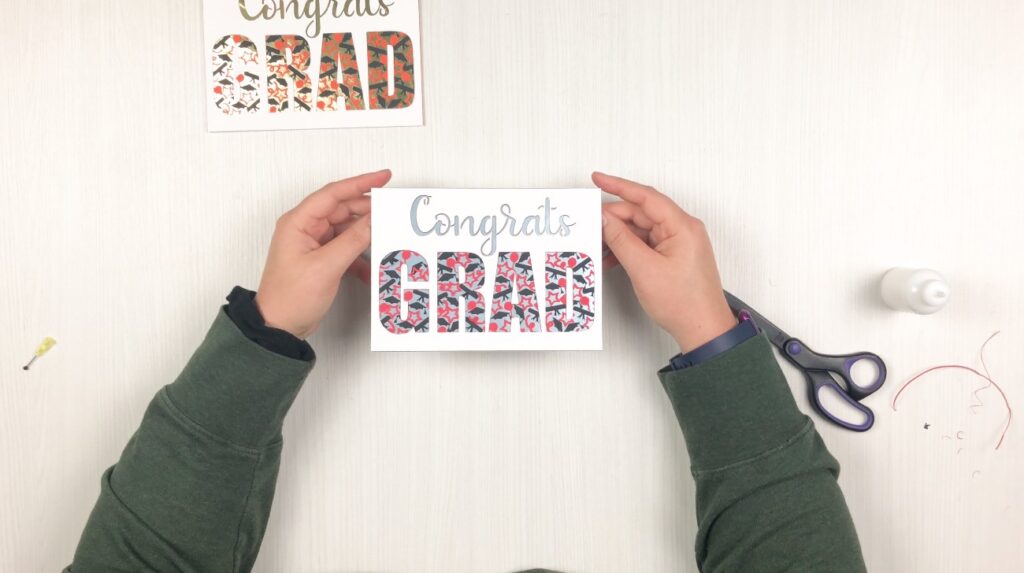
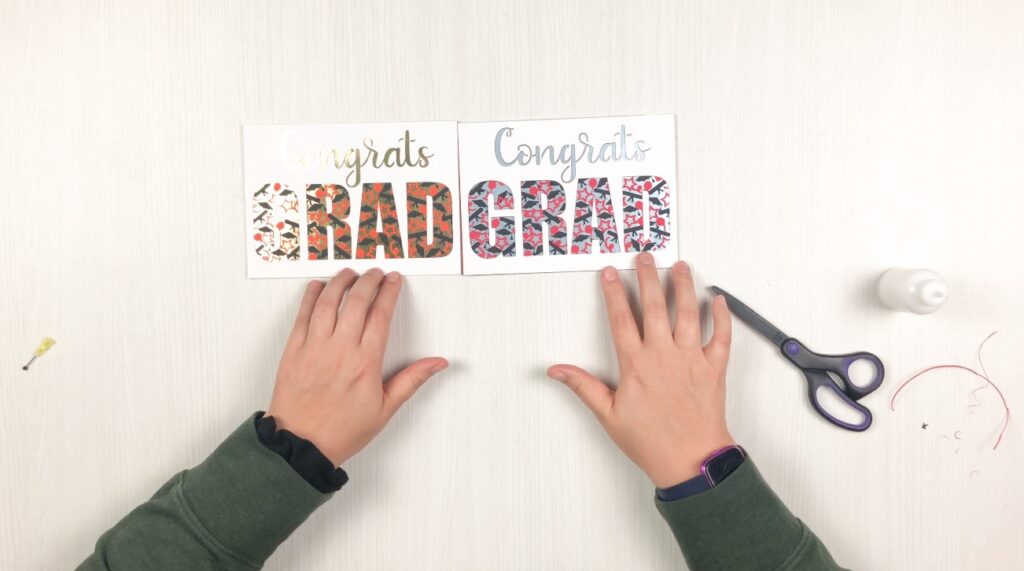
I love how this card is easily customizable to match school colors. Changing from gold foil to silver foil makes such an impact as well.
Here are a few more graduation-themed projects you’ll enjoy:
How to Make a Graduation Banner in Silhouette Studio
How to Design a Cake Topper From Scratch in Silhouette Studio
Graduation Cap Card


