
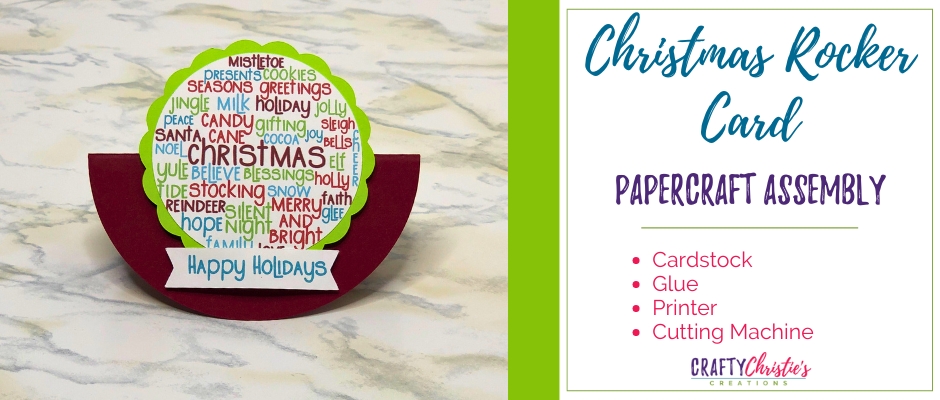
Creating a beautiful print and cut Christmas rocker card with your Silhouette cutting machine is a fun and rewarding craft project. This card is perfect for spreading holiday cheer with its unique rocking motion and heartfelt sentiments. Follow these step-by-step instructions to make your own “Happy Holidays” rocker card with print and cut elements.
Supplies:
Rocker Card Cut File
Green Cardstock
Red Cardstock
White Cardstock
Printer
Cutting Machine
Tape Runner
Tape Runner Refills
Foam Squares
Step 1: Print and Cut the Christmas Card Pieces
Open Silhouette Studio and navigate to where you saved the Christmas rocker card file. Open the file and set up the word pieces for print and cut. Print multiples if you want to make this card in bulk.
Step 2: Preparing the Card Base
Use your Silhouette machine to cut out the base piece of the card. Cut by line color to define the score line as score and cut the outline of the card base. Carefully fold along the score line to create the rocker effect. Use a bone folder or straight edge to reinforce the fold, ensuring a clean and crisp crease.
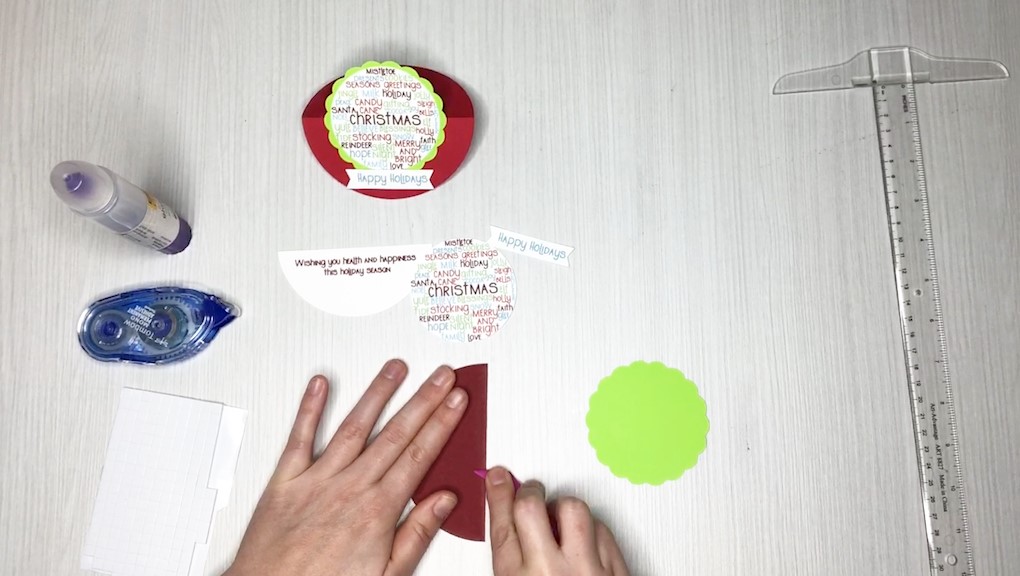
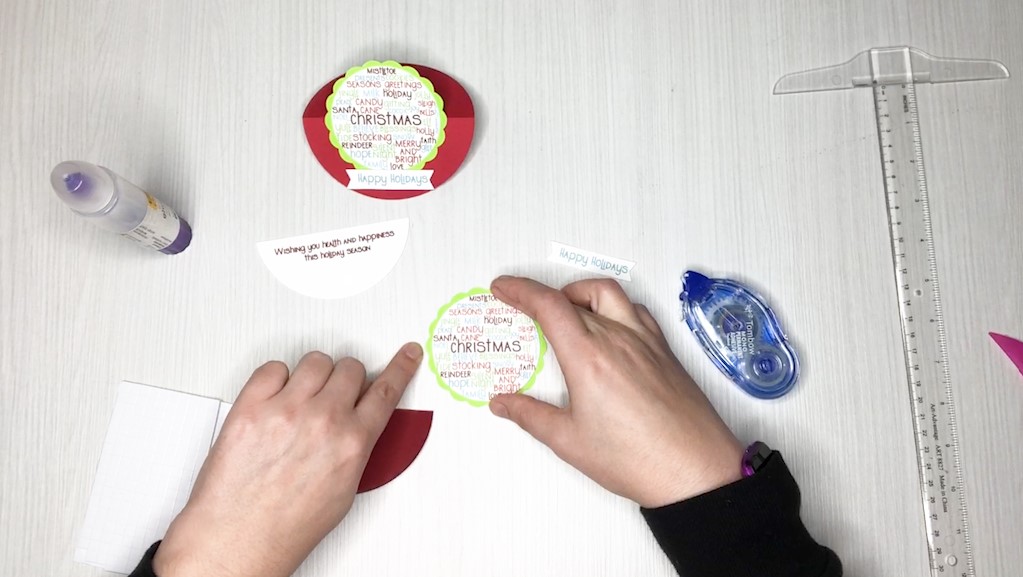
Step 3: Assembling the Front of the Christmas Rocker Card
Use the tape runner to apply adhesive to the back of the word piece of the card. Center the word piece on the scallop circle, ensuring an even border all around. Align the word “Christmas” with the bumps on the scallop circle to make it look neat.
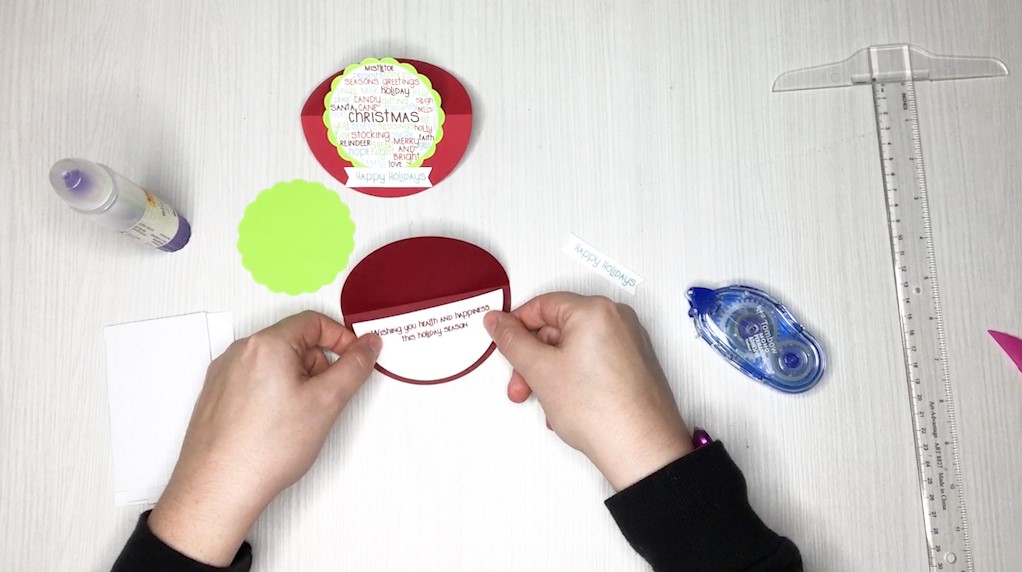
Step 4: Adding the Inside Sentiment
Choose between the 2 sentiments for the inside: “May the simple joys of the Season warm your heart” or “Wishing you health and happiness this holiday season.” Use the tape runner to apply adhesive to the back of the sentiment. Place the sentiment inside the card, ensuring an even border all around. Fold the card to check the alignment before pressing down firmly.
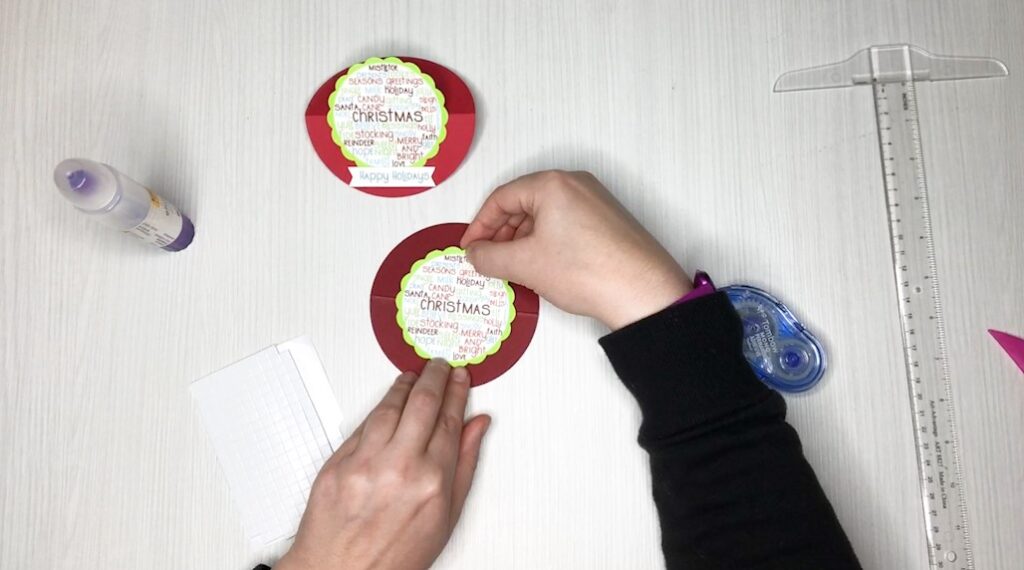
Step 5: Finishing the Front of the Christmas Rocker Card
Open the card to see the scoreline. Align the scallop circle with the scoreline, using the word “Christmas” to align across the scoreline. Use tape runner or foam squares to adhere the scallop circle to the card base. Only apply adhesive to the bottom half of the scallop circle. Cut foam squares in half and place them on the back of the “Happy Holidays” tag. Place the tag centered on the lower part of the scallop circle.
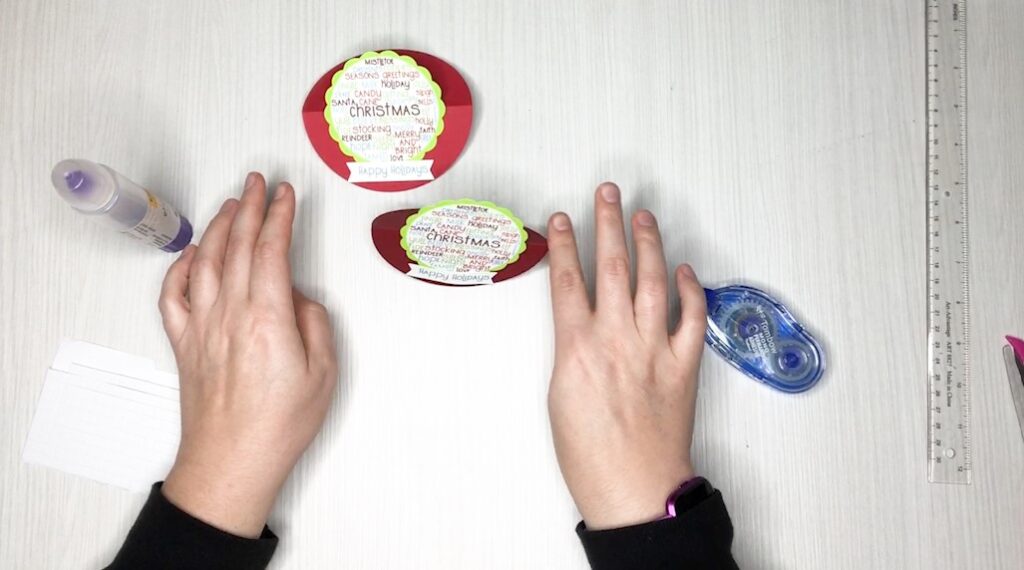
Step 6: Final Touches to the Christmas Rocker Card
Test the card to make sure it rocks properly. The reinforced scoreline will help it stand and rock effectively. If any element is not aligned correctly, carefully peel off and reposition it. Note that the tape runner adhesive is strong and may not allow repositioning easily.
When folded, the completed card measures approximately 3.5 inches tall and 4 inches wide, fitting perfectly into a standard A2 envelope.
Enjoy your beautifully crafted print and cut Christmas rocker card! This delightful design will surely bring joy to anyone who receives it.
Check out these other Christmas Card and Print and Cut Projects:
Elf Rocker Card
Popcorn Box
Heat Foiled Christmas Card


