
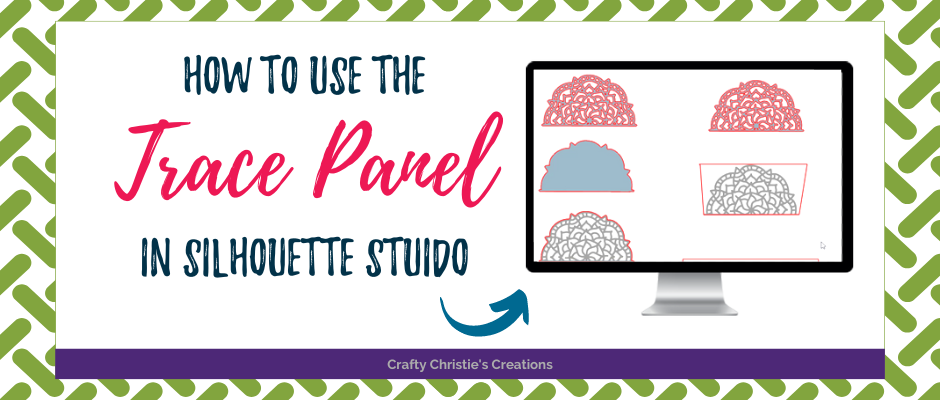
Tracing images in Silhouette can be frustrating. There are a lot of different options and not every option is right for every project. Follow along with me as I teach you how to use the trace panel in Silhouette Studio. I’ll go over the differences between each trace option and see how the results differ.
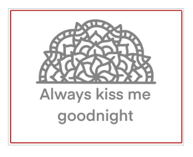
I’m using a png file of a mandala I drew in Procreate. Ultimately, I’ll be using this mandala to make a vinyl decal that I’ll be putting on the wall above my bed. In order to do this, I need to change this png to a cuttable file, which is where the trace comes into play.
PNG files can be saved with a transparent background, but Procreate saves them with a white background. If I just tried to cut out the png as is, I would get a solid square.
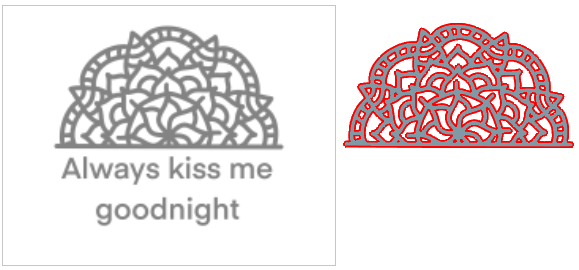
Trace with Solid Fill
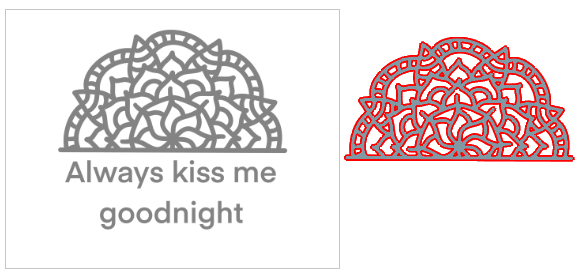
Selecting just the mandala, I want a solid fill to represent the black areas of the mandala that makes up the design. The red lines show where this will cut. The black lines will be the design and the white areas will be weeded out. It makes a copy of the original and makes it cutable.
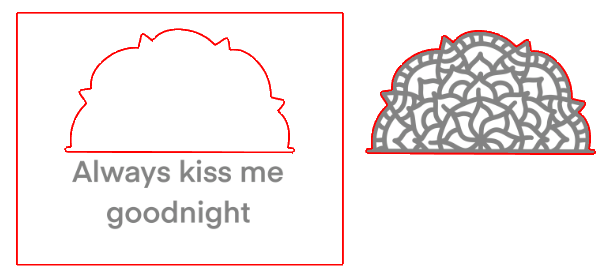
Trace Outer Edge
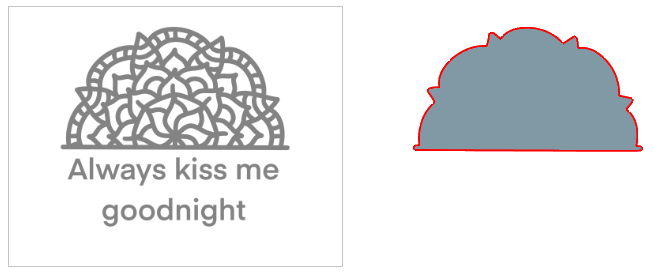
Selecting the mandala, I only want the outline of the shape to cut. This is great if you want to add a background color. The background can be blue and the mandala will lay on top in black for a multilayered mandala design. It makes a copy of the original but only shows the outline.
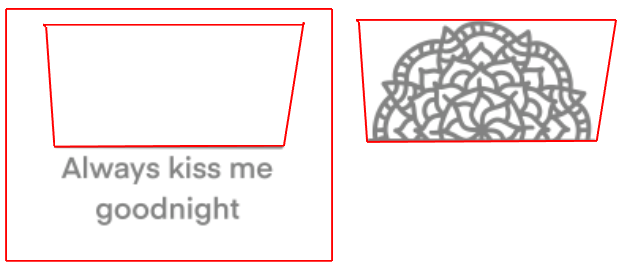
Trace and Detach
Select the mandala with a solid fill and click, trace and detach. This is a good option for print and cuts. It will print the design and then cut only the outline. It pulls the design from the original.
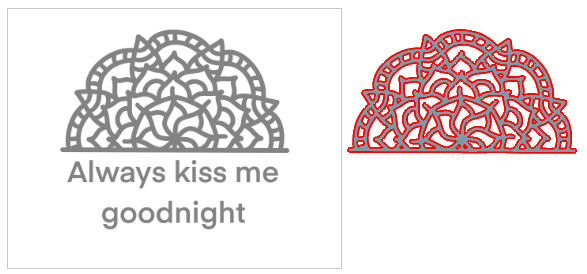
Trace by Outline
Select the mandala and instead of solid fill, use the outline. It will put a cutline along the outside of each black line in the design. I think this looks a little bit thicker than the basic solid trace. It makes a copy of the original design.
Trace by Color
This feature is found in the Designer’s Edition and higher. Using the trace by the color panel gives you an eye dropper to choose which color in the design you want to trace. This method is the best one to use when you are tracing multiple colors from one design. Each color will be its own cut file. Again it makes a copy of the design of parts in this color. You can also choose to do all parts of the same color or only the one part you selected.
Trace by Magnet
I’ll be the first to admit that I have never tried this method before. I probably need to experiment more with it. But it appears you can make your own cut outline shape for the design. This would be another print and cut option. The design is cut away from the original.
Now that you have a better understanding of how each trace feature works, I have confidence you’ll be able to quickly pick the trace type you need for your next project.
For more in-depth understanding, check out the video below


