
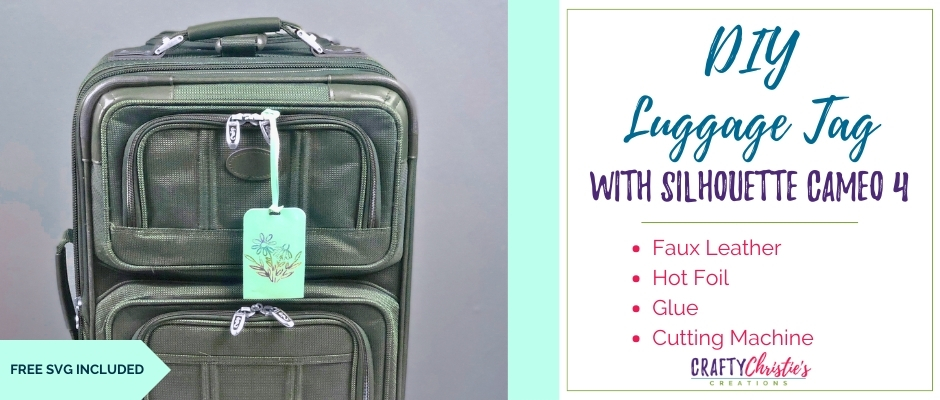
Have you ever had someone else grab your suitcase at baggage claim or lose your luggage completely? One way to help claim your bags is a luggage tag with your information. Today I’m showing you how to create a DIY luggage tag with Silhouette. I have a FREE cut file for you as well.
Supplies:
Luggage Tag Cut File – complete the form below
Faux Leather
E6000
Foil Quill
Rainbow Hot Foil
Cardstock
Acetate
Cutting Machine
Nicapa Cutting Mat
Transfer Tape
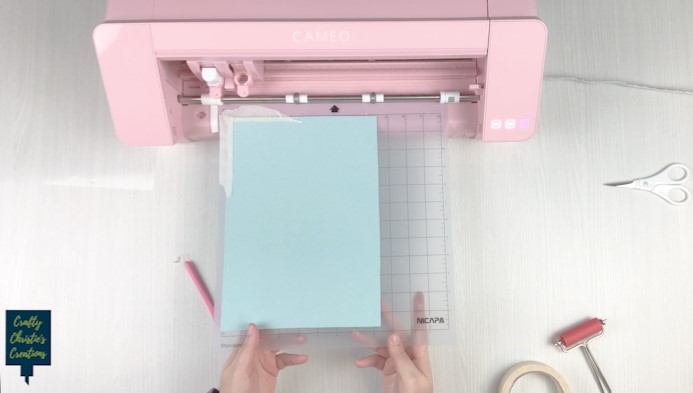
Step 1: Cut the Luggage Tag
With Silhouette Studio open, navigate to where you saved the luggage tag file and bring it into the software. Add faux leather to your cutting mat with the fuzzy side facing up. Since the design is symmetrical, you don’t have to worry about mirroring when cutting from the backside. Cut the tag and the strap from the faux leather. Cut the purple rectangle from cardstock and the light blue rectangle from acetate.
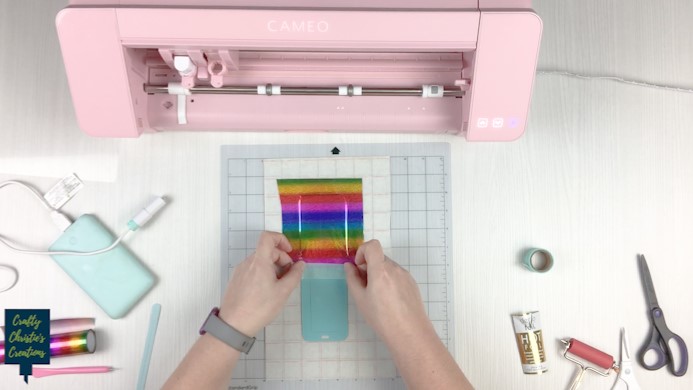
Step 2: Customize the Tag
Use the Foil Quill and heat-activated foil to add a single-line design to the front of the tag. I’m using a sketch design that came free with my Cameo. To use the Foil Quill with the Cameo 4, I have found the D adapter fits well into carriage 1. Create a custom user material for the Foil Quill as a sketch pen. I like using a force of 1, a speed of 1 (since this is an intricate design,) and 1 pass for faux leather.
Cover the mat with transfer tape to protect it from the fuzzy side of the faux leather and the heat foil. Have the sticky side of the transfer tape facing up. Choose your landmarks on the mat and place the luggage tag on the transfer tape. Leave enough room on all sides so the heat foil can stick to the transfer tape.
Step 3: Assemble the Luggage Tag
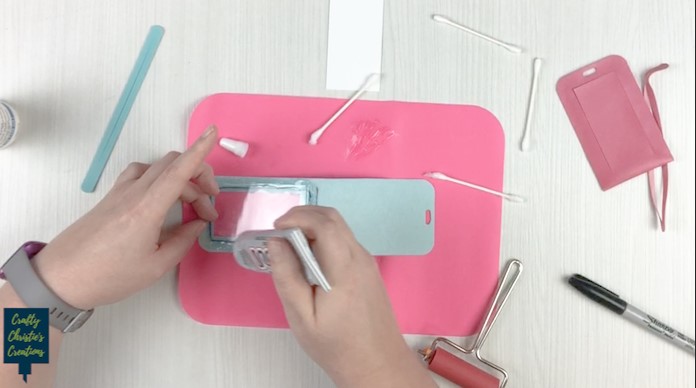
Using either fabric glue or E600, adhere the acetate to the back of the flap on the tag. Be careful not to let excess glue tack the flap closed to the acetate.
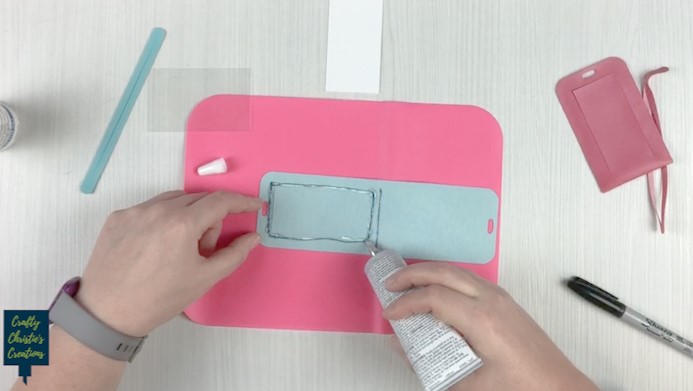
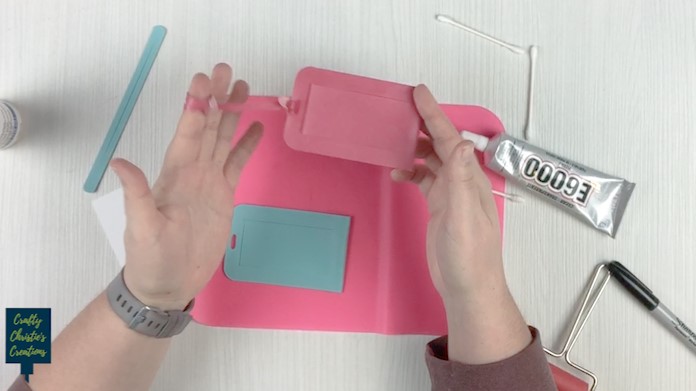
Now add glue on 3 sides of the luggage tag to close it up. Do not add glue to the side with the hole. The strap will keep this side closed and still allow you to slide in the cardstock information sheet. This way, if you ever need to change your information you can easily replace the cardstock sheet.
Both of these glues take at least 24 hours to cure fully. Set something heavy like a paperweight over the luggage tag so it will dry flat.
Step 4: Attach the Tag to a Suitcase
Place the strap through the holes in the tag and loop one end of the strap through the strap slit and pull taught. This closes up the open end of the luggage tag.
Next, take the long end of the strap and wrap it around the handle of the suitcase. Then pull the entire luggage tag through the slit in the strap. This forms another knot in the strap keeping it securely tied to the suitcase.
You’re ready to show off your custom luggage tag!
Check out these other tutorials about heat foiling and faux leather crafting:
How to use the Foil Quill in Silhouette Studio
Faux Leather Earrings


