
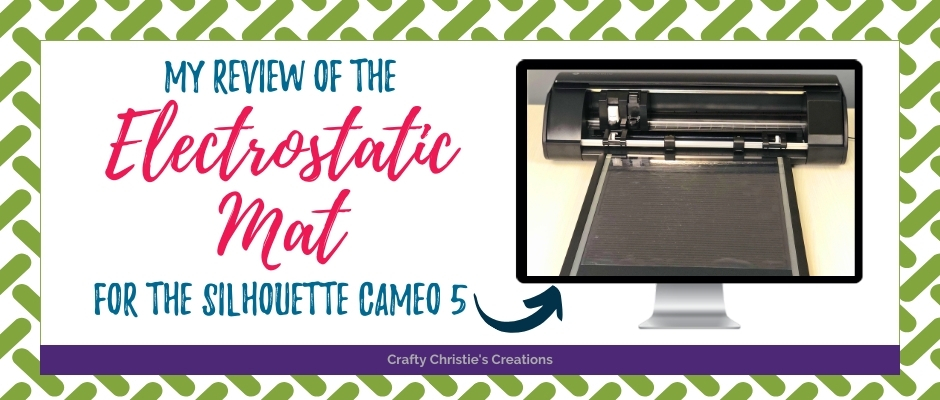
Are you considering purchasing the electrostatic mat for the Silhouette Cameo 5? After using the ES mat for a few months, here is my honest review, a look at it in action, and a modification I made for the better.
What is the Electrostatic Mat for the Silhouette Cameo 5?
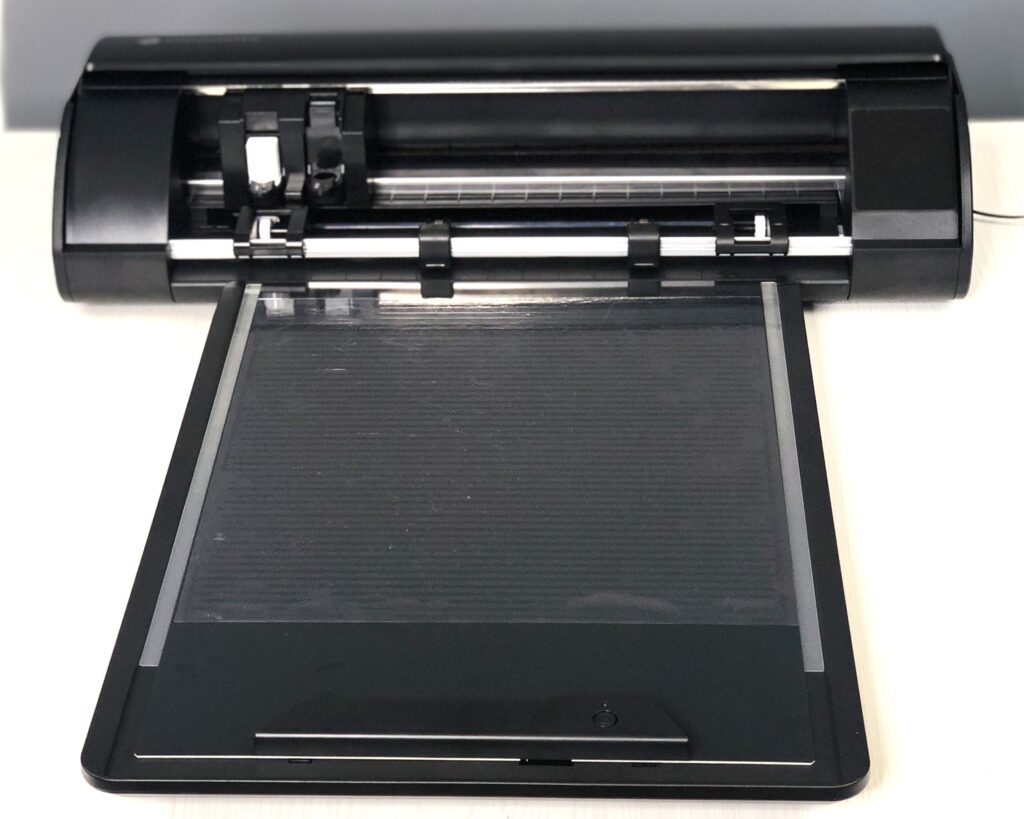
The ES mat is an accessory tool sold by Silhouette for $99. It uses electricity to make static energy to hold materials in place while cutting. Like the standard sticky mat, it has a 12×12 inch cutting area.
Silhouette states it is ideal for cutting intricate designs from paper and more delicate materials. Because of the static hold, no tearing or curling occurs when removing designs from the mat. However, they caution that textured materials will not cling to the mat.
Initial Impressions Out of the Box
I was super excited to receive my ES mat. I purchased it on release day and did a happy dance when it arrived on my doorstep. If you have ever purchased an accessory from Silhouette, you know there isn’t much guidance when you pull it out of the box. All I had to go on was the information shared by others who attended the Silhouette Summit and recorded live demos of the product in use.
In the box came the electrostatic mat bed, a protective sheet that felt like thick flexible plastic, a few thin strips of roller guard tape, and a sorry excuse for instructions.
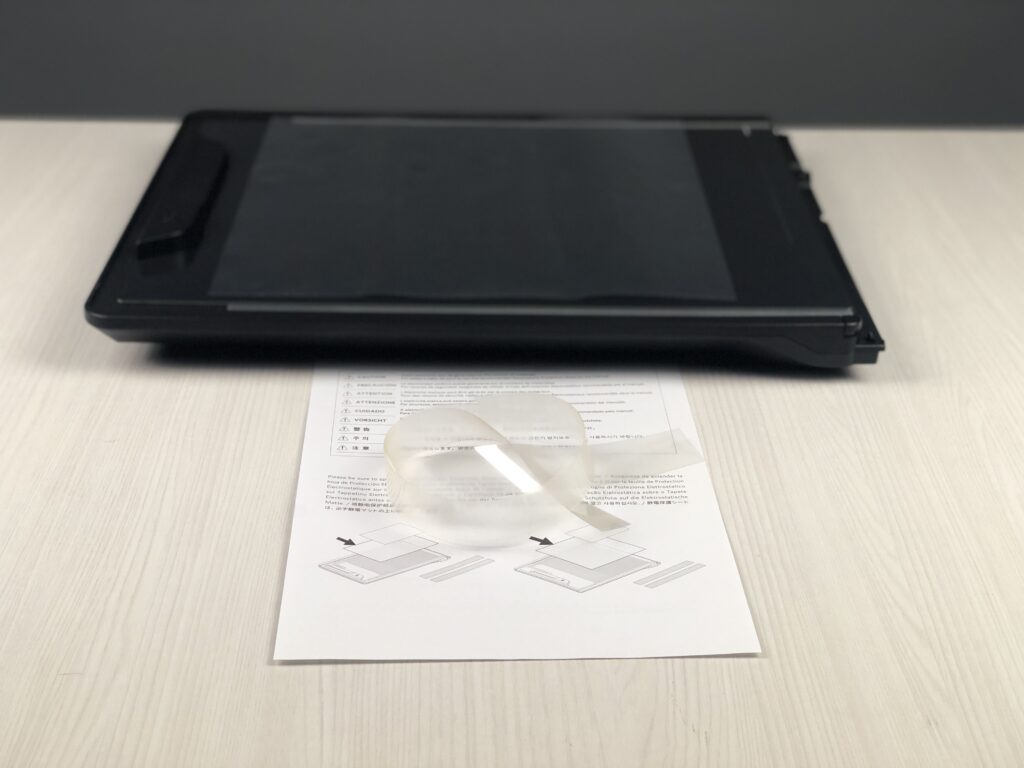
The protective sheet was a wrinkled mess so the first time I used it on my mat nothing would hold over the wrinkled areas. I was so disappointed that this ES mat wasn’t going to work and that the problem was simply the way it was packaged. With my head held low, I left the protective sheet on the mat, turned the mat off, and walked away from the craft room for a few days.
I returned later that week to give it another try, I had decided if it didn’t work this time I was going to return it and tell everyone not to waste their money. To my surprise, the protective sheet had completely flattened itself and maintained a secure hold across the entire mat!
How to Use the Cameo 5 Electrostatic Mat
With little instruction, this was very much a guessing game and it took me a bit of time to figure it out. Here are the steps I’ve developed to ensure the mat works.
Step 1: Plug in the ES Mat
Remove the covering on the front of the Cameo 5 to expose the power port. The ES mat has a lip on the edge that clicks into place on the Cameo 5 and supplies power to the mat.
Step 2: Apply the protective sheet to the ES bed
Lay the protective sheet onto the ES bed while the power is off. This prevents those unwanted zaps while you move the protective sheet into place.
Step 3: Turn on the Power
Power on the Cameo 5 and the ES mat. Give it a moment to build a static charge. Use your hand to press out air bubbles under the protective sheet.
Heres a video of this process:
Step 4: Add your Material
Lay your material on top of the protective sheet aligning it to the top left corner of the ES mat. There is a dash mark that indicates the top of the ES bed.
Step 5: Set up your design in Silhouette Studio
It takes a few minutes to build up a strong static cling so use this time to set up your cut in Silhouette Studio.
Step 6: Check the Static Cling
Before sending your design to cut, run your hand across your material to remove any air bubbles. Place your hand on your material and try to move it on the mat. If the material stays in place you have good contact with the static charge. If your material easily moves across the mat, more time is needed to develop a strong static cling.
Step 7: Send the Design to Cut
Cut settings for the ES mat are the same as what you use on a sticky mat. The difference is you may not be able to cut thicker material on the ES mat like you can using the sticky mat.
Here’s a video of this process in action:
Does the Electrostatic Mat Work?
YES! I’ve tested the mat with 80lb cardstock, sticker paper, and vinyl. All of them hold well on the mat. If you have flat sheets of HTV, it will work too.
The caveat is that your material needs to be flat and smooth. Textured cardstock or rolls of htv don’t produce a strong static cling to hold the material in place for cutting.
Is the ES Mat worth purchasing?
If you do a lot of cardstock cutting you will enjoy having an ES mat. The static cling does prevent the curling and tearing that can occur when peeling your cardstock off the sticky mat. Plus the clean up is super fast! I power off the ES mat to release the static cling and then brush away the scraps into the recycle bin. No more wasting time scrapping the sticky mat to remove all the debris.
The downside is there are no gridlines on the ES mat or in the software when using the ES mat. I came up with an easy hack for this. In Silhouette Studio, I turn on the grid and rulers. This helps with placing designs on scraps and utilizing the entire surface area of the material.
On the protective sheet, I used a permanent marker, ruler, and a sticky mat to trace the gridlines onto the underside of the sheet. This way the lines won’t accidentally transfer to my materials.

All in all, I’m a big fan of the Cameo 5 Electrostatic Mat and use it regularly. When I’m cutting cardstock and thinner materials, it saves me a lot of time and frustration. So if you are on the fence about purchasing the ES mat and you do a lot of cardstock cutting, I say do it!
Purchase the ES Mat from Silhouette
Purchase the ES Mat from Amazon
Here are a few other posts you might like:
Setting Up the Cameo 5
Cameo 5 Roll Feeder


