
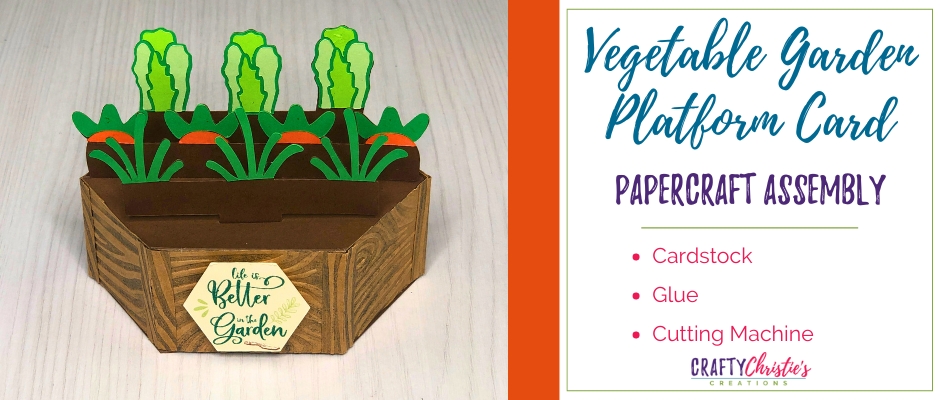
Inspiration really can strike from anywhere. I planted my first garden this spring, which inspired this card. Follow along as I demonstrate how to assemble my vegetable garden platform card. It folds flat for mailing in a 5×7 inch envelope.
Supplies:
SVG File
Recollections Cardstock Pack
Liquid Glue
Wood Grain Embossing Folder
Weathered Wood Distress Ink
Printer
Cutting Machine
Step 1: Paper Piecing the Garden Card
Like most of my 3D cards, paper piecing is a must. Layer on the vegetables to the T-shaped inserts. The lettuce has multiple layers. There are small gaps between the small pieces to show through the base layer.
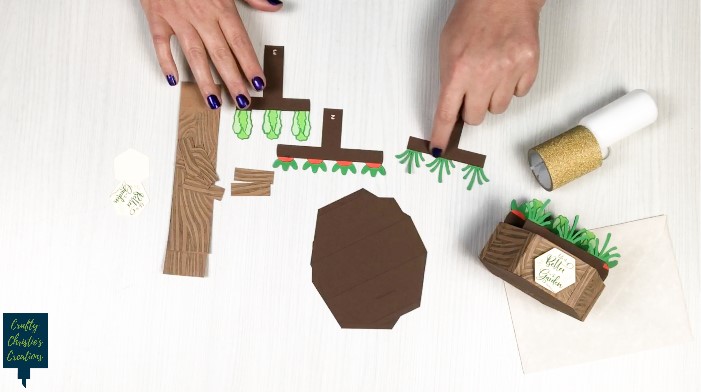
Step 2: Apply the Inserts
The card base has 2 platform parts. Each has 1 slit for adding a T-shape insert. The inserts are numbered. Number 1 goes in the slit closest to you and number 2 will attach to the side wall of the platforms. Insert number 3 goes in the back slit. Use glue to adhere the tab on inserts 1 and 3 to the bottom of the platform.
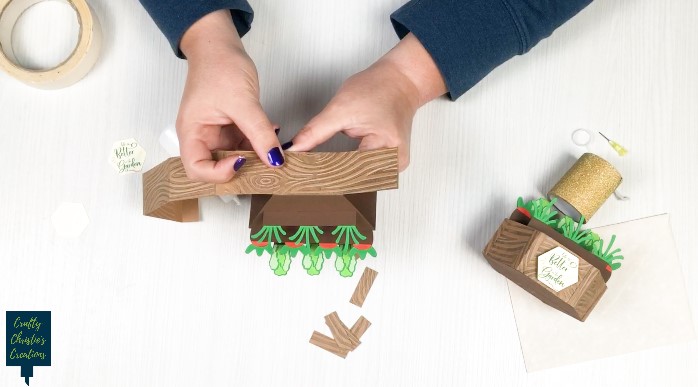
Step 3: Attach the Side Wall to the Vegetable Garden Platform Card
2 long strips make up the side wall. Apply glue to the tab of one strip and adhere it to the other strip. Each strip has 3 sections. The middle section on each side wall strip is longer than the rest. This middle section will adhere to the front and back of the platform. Add glue to the tabs on the platform base and center the middle strip section on the glue tabs. Carefully wrap the side wall strip around the platform base and adhere the other section to the back wall. Close up the side walls by adding glue to the remaining tab.
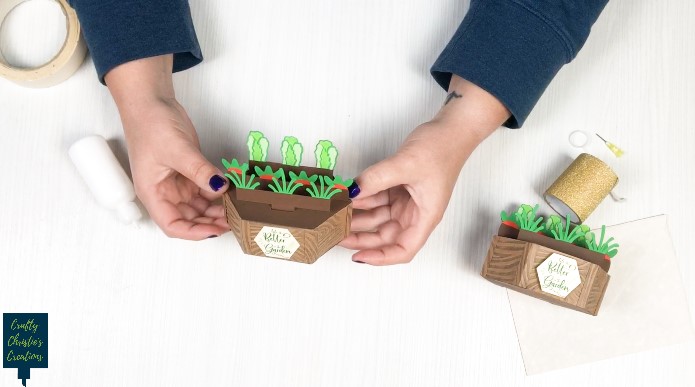
Step 4: Test the Mechanism of the Vegetable Garden Platform Card
The card is meant to fold flat for mailing and to pop open for display. Gently push the platform down from the top so it folds flat. Then push up from the bottom to pop it up. Do this a few times to make sure it moves smoothly.
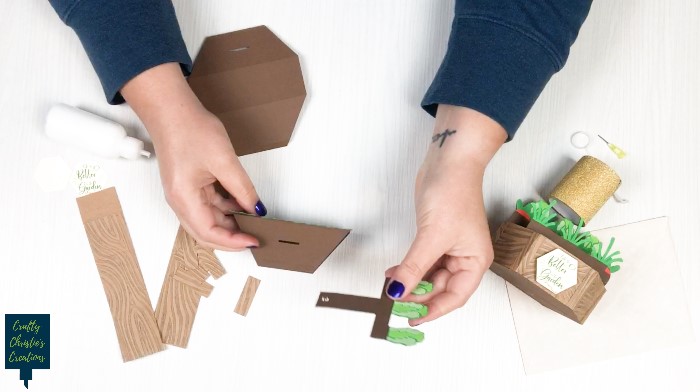
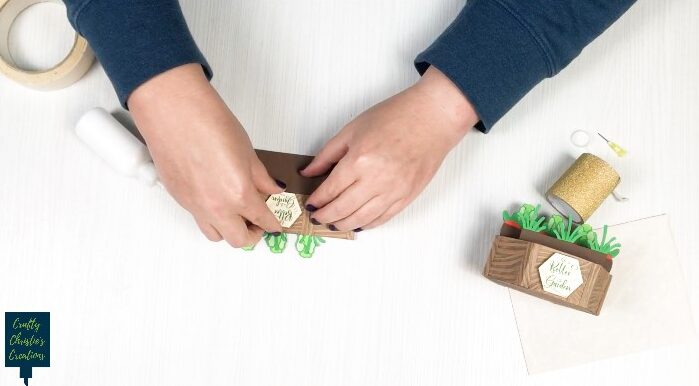
Step 5: Decorate the Veggie Platform Card
There are 6 rectangles with a scoreline down the middle, these are to cover each corner of the card. Adding these is optional, they give the platform a polished finish. There are 2 hexagons, the blank one is for the back, which is a small area to write a personal message. The other one is a print and cut for the front of the card. Center these within the front and back of the card.
Now your card is complete and ready for mailing! This card is generic so it can be used for birthdays, Mother’s Day, get well, or just because. I’m positive the recipient will be in awe of the work you did to create this vegetable garden platform card for them.
You Might Also Enjoy:
3 Best Mother’s Day Box Cards
How to Design a Birthday Shaker Card in Silhouette Studio


